Image Synthesis
I took this class with Dr. Pete Shirley in 2006. He was a very animated professor and loved talking about light and how it behaved. At one point I remember him mid sentence running into the kitchen connected to our classroom and coming back with a glass container he held up looking at it from different angles to talk about refraction.
All of the assignments were completed via blog postings. I decided to write my renderer in java for kicks, while most people chose to use C++. Looking back I slightly regret my decision since I had no experience writing "fast" java code and my renders took noticeably longer than my classmates.
Project 1
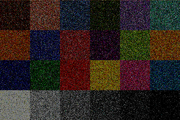
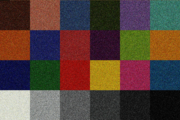
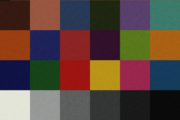
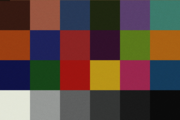
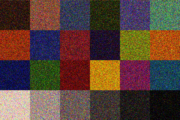
This first project samples various frequencies on the Macbeth color checker. If it passes a basic sampling check, the image color is sampled to the frame buffer. All the samples are acculumated over each time step to get a better average color. All these images were rendered at 720x480 (they seemed like good numbers). They were rendered on a Toshiba Tecra S2.
Project 2
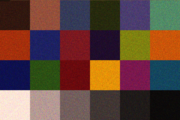
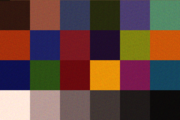
This second project is similar to the first. I sampled XYZ estimates using the tristimulus curves and converted the samples on the graphics card to RGB using the Adobe RGB table conversion standard matrix. It took my poor little laptop almost two minutes to render 1024 time steps at 720x480.
Project 3
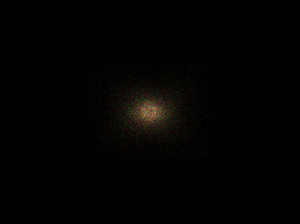
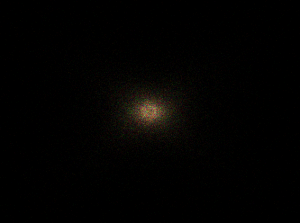
These are samples from a simulated sensor. The grid is on the xy-plane and a sphere emitting light from it's surface at random vectors hits the sensor grid and accumulates XYZ factors, which are converted to RGB on the graphics card and displayed to the screen. Below are images of this program taken at different number of photon emissions.
Project 4 and 5
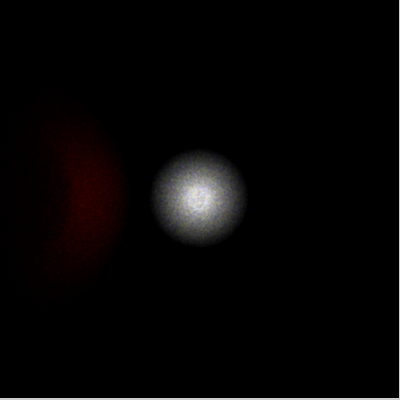
In the previous project, a single sphere-shaped light emitter was placed onto the sensor grid. In the example, the light source has been moved back and a pinhole has been added between the sensor grid and all other objects in the scene. This pinhole only allows vectors of photons pass through it if it they travel inside the pinhole to reach the grid. Other photons are thrown out. This pinhole-camera scheme provides a much better detailed picture than the previous implementation as it simulates a perspective frustrum just like the eye or a real camera. A red diffuse sphere bounces light from the light source to the pinhole also.
Included in this project was an importance sampling implementation. This fired photons at the diffuse sphere and directly at the pinhole. The amount of photons fired to each object was a ratio of their solid angle and the total number of photons previously fired in all directions. Because only photons sent to the pinhole and the object were fired, the scene was rendered using much fewer photons. Although more overhead was required to calculate the importance sampling, it greatly reduced the calculation time for every photon collision (having much fewer photons in the scene).
Both of these projects were added to the previous code base at the same time. Importance sampling was required to provide an more interactive debugging of the pinhole code. Final images look better than the previous project, and took much less time to synthesize.
